


Screensharing can improve productivity, participation and increase the effectiveness of your remote meeting. People tend to be more engaged and you don’t need to worry about emailing out slides and hoping people are following along. In some cases, sharing content can even help meetings get done faster and remove the need for follow-up questions and further meetings.
With many conferencing tools the screenshare feature can be difficult to use, it may require a download or plug in or it just doesn’t work. There’s nothing worse than wasting time trying to figure out how to share your screen in the middle of a meeting only to have it fail.
LoopUp makes screen sharing easy – it’s just one click to share content.
If you’ve never shared your screen with LoopUp before, here’s how you do it:
- First, click the link to join your LoopUp meeting (find out more about that here)
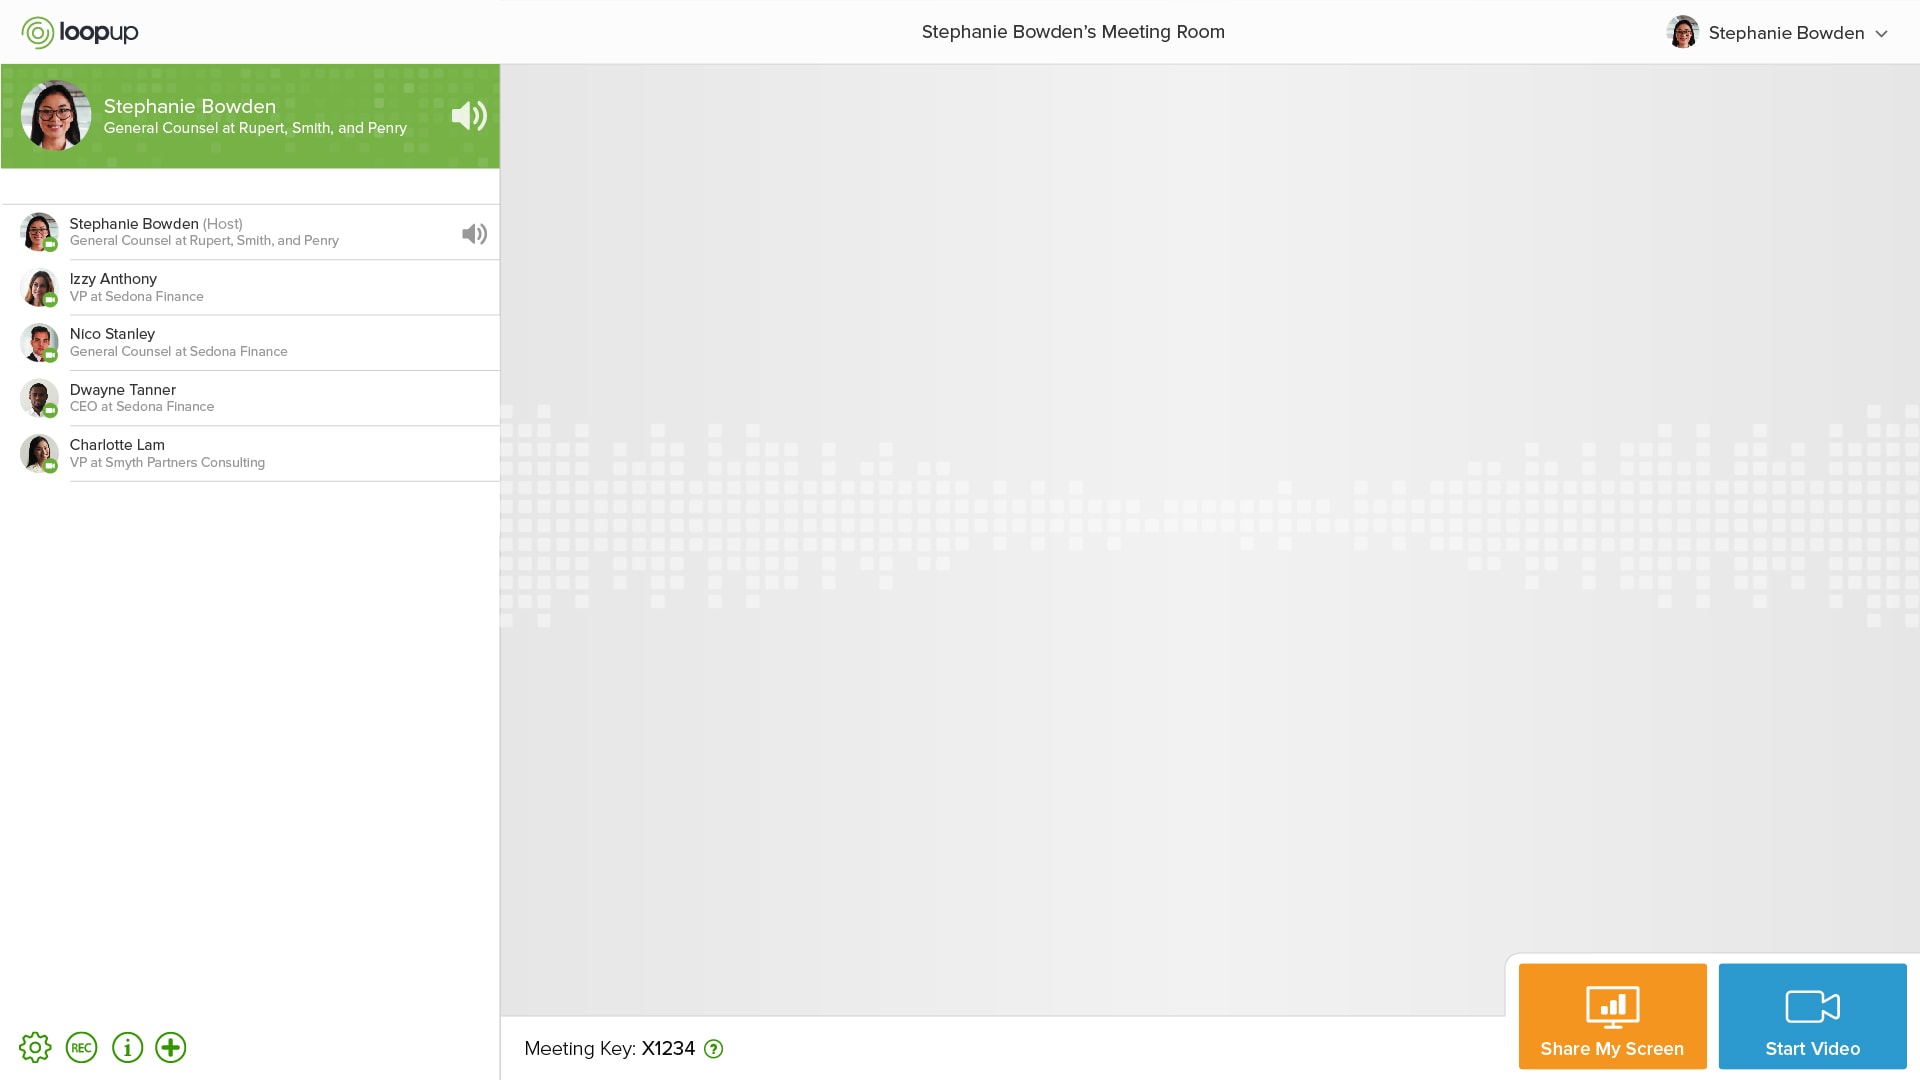
- Click the big, orange “Share My Screen” button*
- You’ll see a green band, which shows you what part of your screen is being shared.
- When you’re finished, just click “Stop Sharing.” (You can also stop sharing by using the meeting controls in the bottom right-hand of your screen, or by ending the meeting.)
Screen sharing on LoopUp is just as easy for guests as it is for meeting hosts. The default setting on LoopUp meetings is “Guest Ask Permission.” This means that your guests will also see the big, orange “Share My Screen” button when they join the meeting, but when they click it, you’ll get the option to allow them to share or not. You can also change this setting to always allow guests to share, or to never allow guests to share. It’s up to you.
The other great thing about screen sharing with LoopUp is that guests can view what’s being shared on any device, without having to download a plug-in. As long as they click the link to join the meeting, they’ll always be able to see who’s on, who’s talking and what’s being shared. Amazing!
For more detailed information on sharing your screen, click here.
To get more updates on remote meeting best practices and tips, follow us on Twitter, LinkedIn and Facebook.
*The first time you share your screen, you’ll need to follow our 1-minute setup instructions. Don’t worry, it’s only three short steps!
